Quick and dirty step-by-step of a quick and dirty EP Intruder style fly for Nick.
I almost feel bad for using "intruder" to describe these types of utility flies as the Skagit Master's would surely call blasphemy and ban me from the ascot club forever for the sacrilege.
The intruder style, generally speaking, is a thin bodied fly with a high profile head and skirt (for lack of a better term) that are essentially symmetrical. The profile is lot easier to define or pin point than the materials, of which there is an endless pool of possible combinations.

Ill point out a couple of other signatures or trademark features of the style as we go along. I think this style of fly has become poplar for a number of reasons, they tend to be easy to cast because of their relatively minimal bulk and or weight. Despite their relatively minimal bulk and weight, they maintain a substantial profile and don't thin out in heavier currents. The materials used tend to be long, webby and have great action in the water. The stinger/hangback hook rigging hooks and retains fish well, etc. etc.
In summary, the general template for this fly makes it easy to incorporate all of the fishy characteristics of color, contrast and movement in a user friendly design. The one potential downside is that it does take a bit of effort to twist them up, but no more so than many other classic and/or "modern" patterns once you get rolling. Once you get in the groove, cranking out a simple yet functional version shouldn't take more than 15 minutes if you pause to sip your favorite beverage at fairly regular intervals.
First test drive of the new fly tying station. I needed something that was a little more orderly and kid proof than my previous pile of plastic drawers and bags.
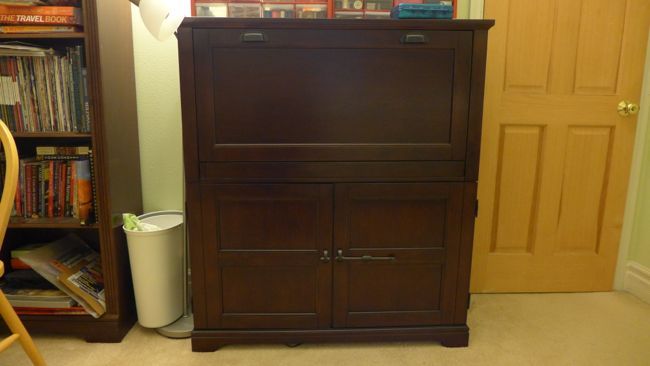
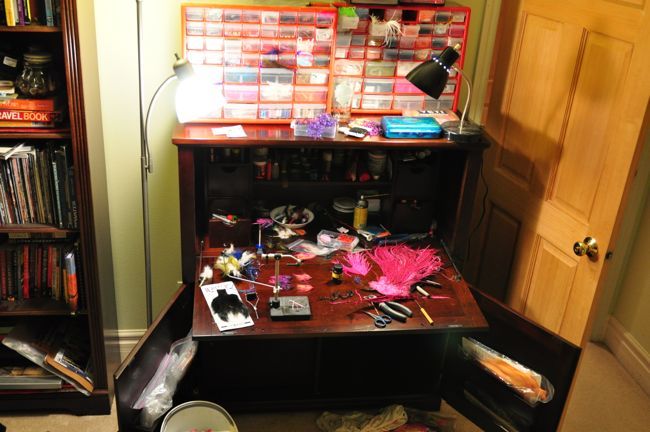
I learned a new word a few days back, credenza. Apparently it means folding fly tying table in greek.
As previously mentioned, just about any shank will do. Either cut a cheap hook down to length or use something pre-made like a Waddington shank or spinner shaft. I tend to like my shanks shorter rather than longer as a shorter shank hook will let more of the materials move and work as compared to a longer shank on a fly of the same length.
I like the 25mm Waddington shanks though lately I've been buying the 45mm and cutting them in half. Two 20mm shanks for the price of one

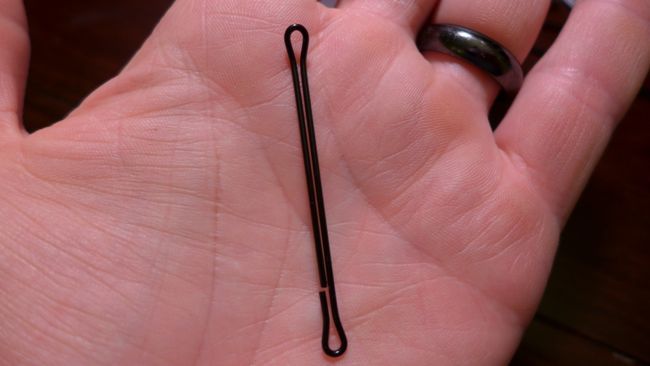
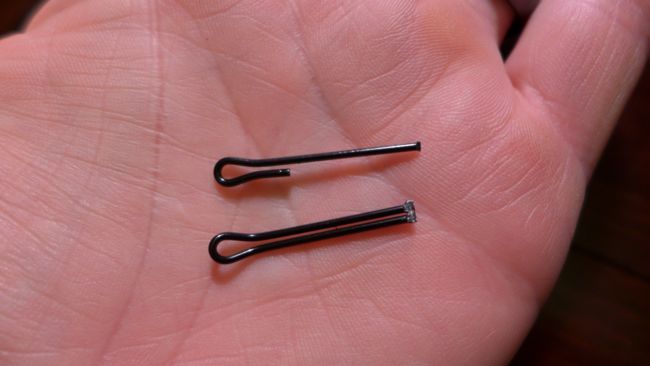
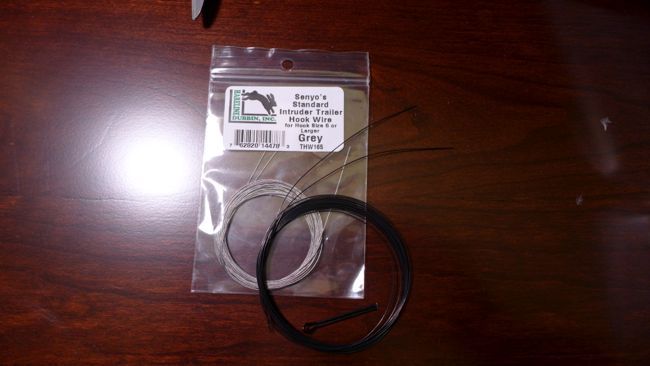
For the trailer/stinger hook loop I've been digging Senyo's Intruder wire though braid, dacron, etc all work just fine.
Lash on your hook loop. If you are unsure of how long to leave the loop, attach your hook, adjust the loop length so that you an easily place and remove the hook, and then finish wrapping the wire to the shank.
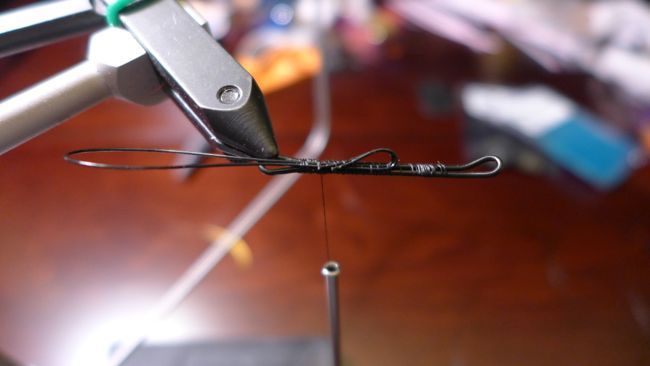
I put a 180 degree bend in the wire which virtually guarantees it will never pull out. Put some glue on it if you must, but you don't need it.
Tie in a tail. I used ostrich and crystal flash here.
One of the signature characteristics of the intruder is the flare of the materials in the head and skirt section of the fly. This is achieve a few different ways. One, you need a nice, fairly even diameter ball or base wrap that will push everything you tie on top of it up and out. Next, you need to stack some stiffer material on top of it to prop up softer and more active materials that you might layer on later. Again the material combinations are endless, but getting the characteristics right is key to winding up with a fishy end result.
Here I've used a turn or two of polar chenille which adds some flash and well as the needed base shape for the flare. Synthetic dubbing materials like ice dub are also a popular. Go high contrast or match the body color, your choice.
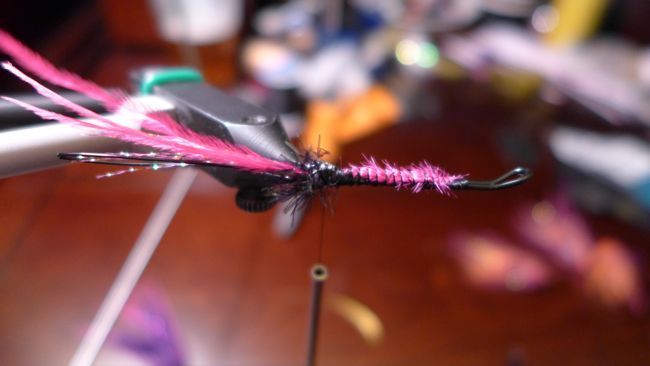
Next, palmer or dub in a layer of something that will prop up whatever else you decide to put on top. Keep this layer shorter and lower profile and add length as you layer on top and you'll preserve the movement of the longer materials. Here I am using whiting hen hackle which is a little soft for the purpose but it works. Polar bear is awesome and other coarse but user friendly hairs like fox are great.
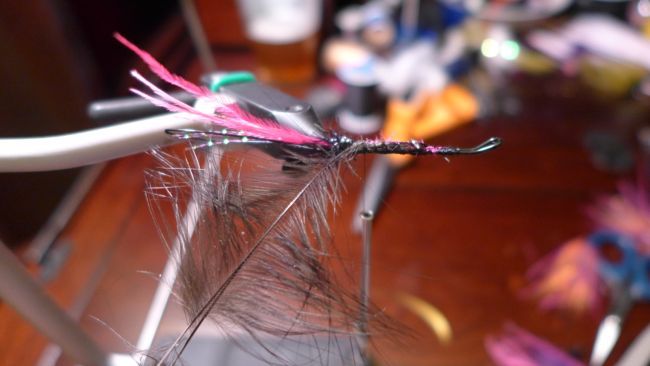
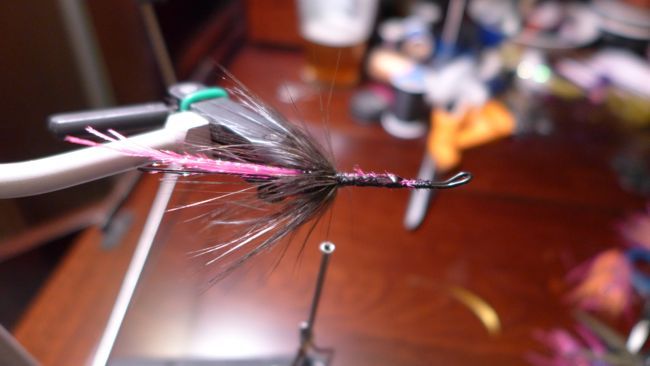
On top of the whiting I added one turn of the Enrico Puglisi 's Anadromous Brush. This fly won't show it but I'll often add another layer of something like schlappen or guinea on top of the brush for some more color and contrast.
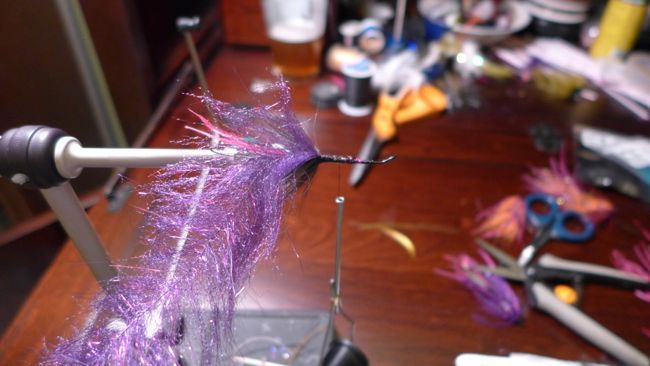
Add some longer, swimmy materials. Here I am using a few barbs of rhea and a few of amherst tail. You can dub them in a loop and then palmer or just add them individually. Keep them pretty thin and well spaced for the best action.
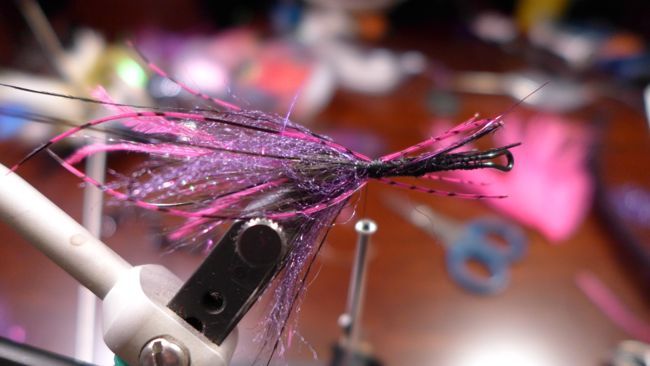
Tie in your body material, some ribbing, and a body hackle. I used diamond braid for the body, large largartun tinsel for the rib, and grizzly for the body hackle.
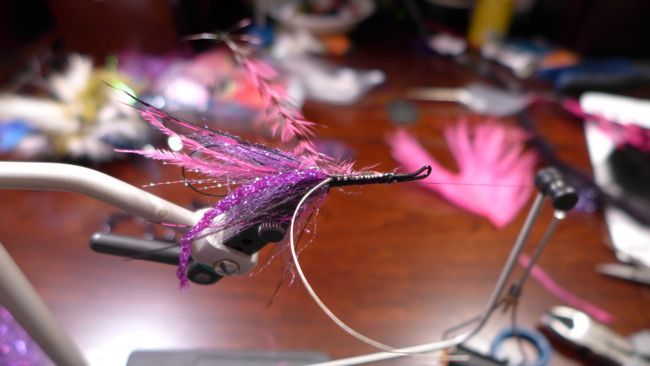
Bring your body materials forward.
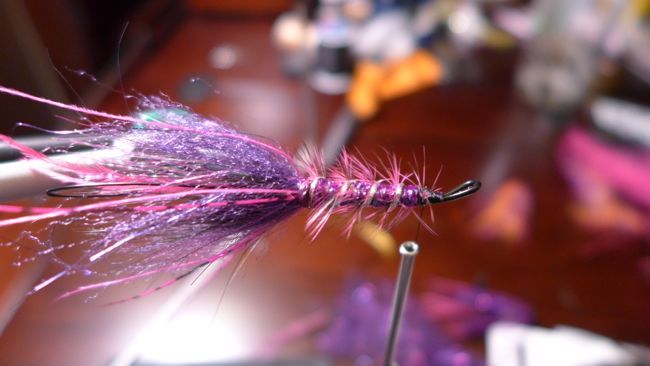
Then repeat everything that you did for the skirt section of the fly at the head. Sometimes I like to put one or two turns of x-select marabou at the head which adds some nice flowy movement to the fly which compliments the stiffer amherst and rhea that take a little more turbulence to move.
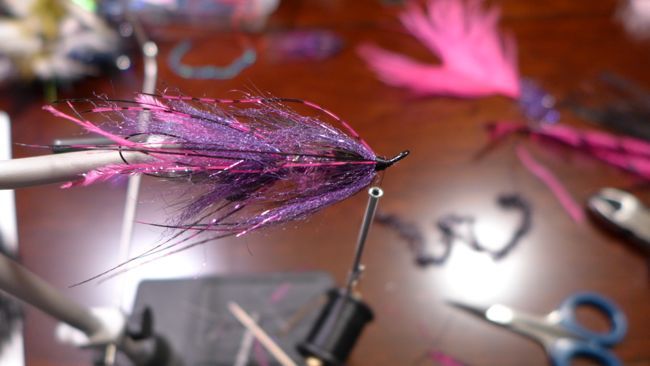
Toss some wings on there if you are so inclined. Style points for eyes if you take the time.

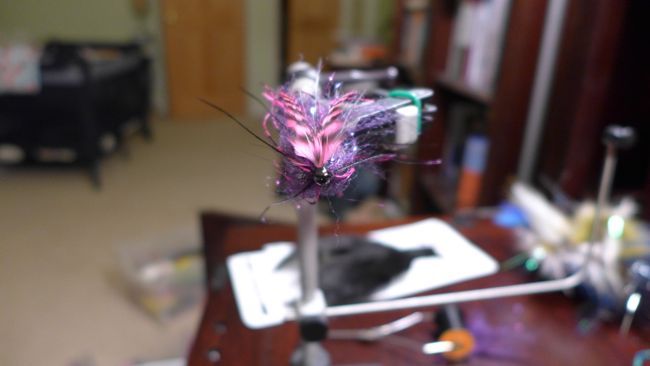
Try out a variety of colors.
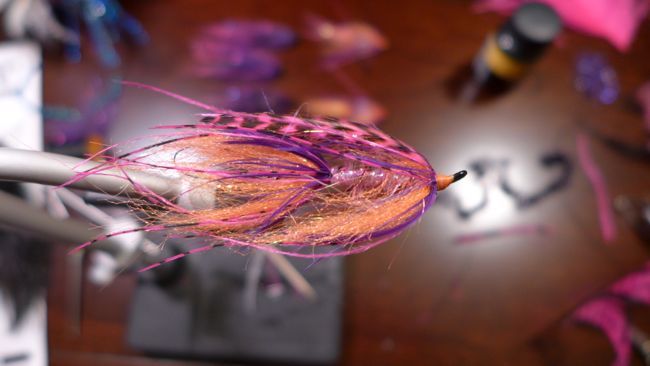
Repeat as needed.

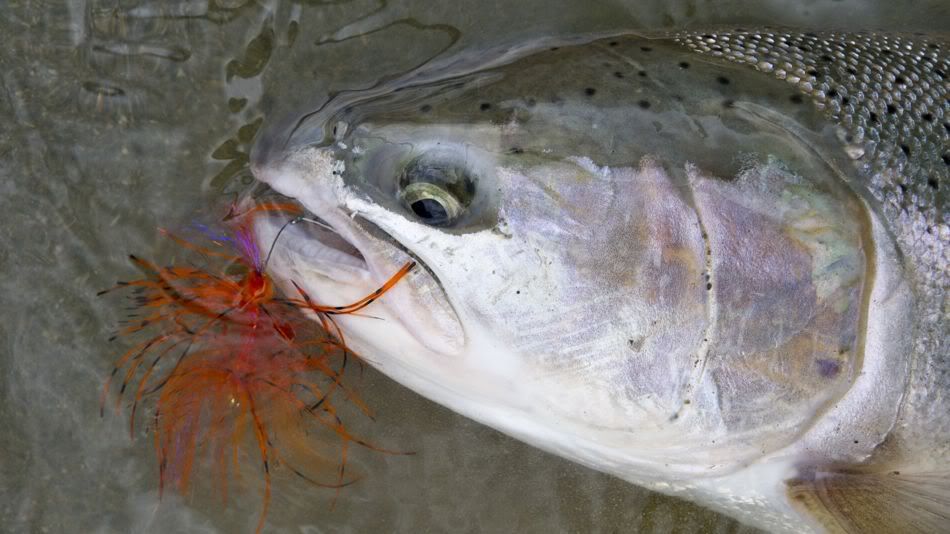
Go fishing and catch a fish.
Many different ways to skin the intruder style cat. Playing around with different materials is lots of fun can keep you entertained for days. I am always surprised (for better and worse) when I give these flies the swim test.






 Previous Topic
 Index
Index

